|
How to Make a GLApp project in Eclipse If you don't have Eclipse installed you'll need to download and install Eclipse (choose the "Eclipse IDE for Java Developers") |
|
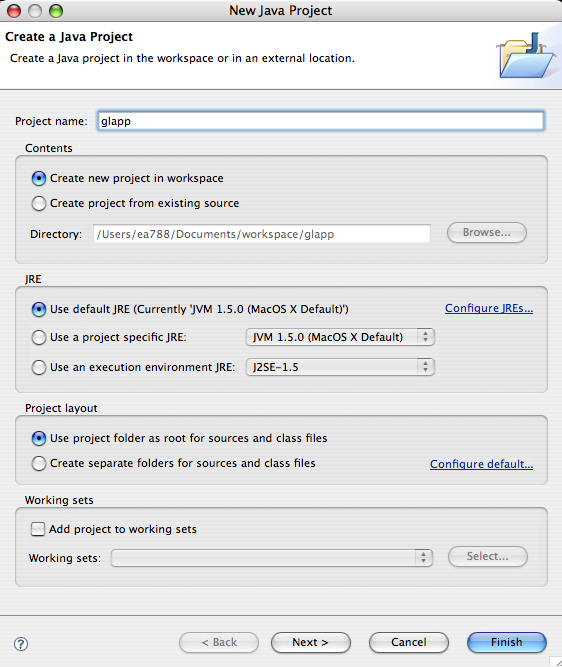
Step 1. Create a project In Eclipse choose menu options: File --> New --> Project -->Java Project. and click Next. Enter project name "glapp" Check radio button: "use project folder as root for source and class files" Click Finish button
|
|
Step2. Download zip file and Locate the folder in workspace Download the "Eclipse project for Win/Mac" zip file. Unzip it into the Eclipse workspace folder. This will populate the glapp project folder in workspace |
|
Step3. Refresh the Project Right click on the glapp project name in the Eclipse left side pane. Click Refresh in the popup menu
|
|
Step 4. Add Libraries to the project Right click on the glapp project name in the Eclipse left side pane Click Properties Click Java Build Path Click the Libraries tab Click Add Jars button Click the plus (+) next to "glapp" to show the jars in the project Ctrl-click the three jars (glapp.jar, lwjgl.jar, lwjgl_util.jar) Click OK Click OK again on the Properties window |
|
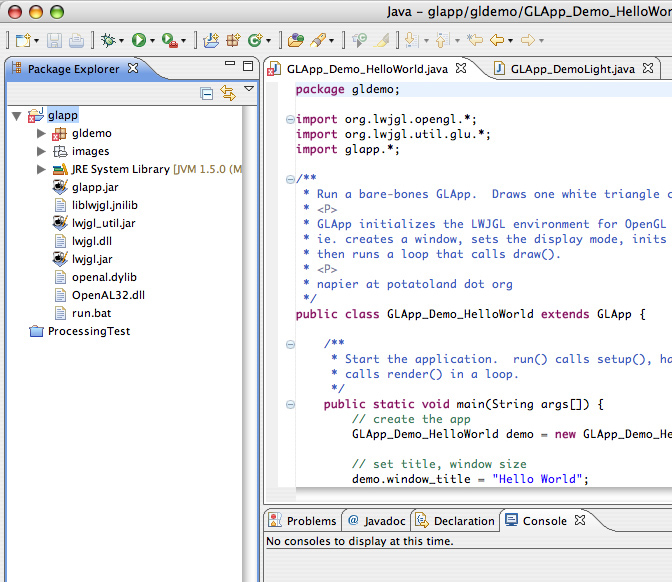
Step 5. Run a Demo Click the gldemo package under the glapp project in Eclipse left side pane Doubleclick GLApp_Demo_HelloWorld.java to open it Click the menu option: Run | Run As | Java Application You should see a window open with white triangle on a black background |